This tool is intended for making basic textual edits such as editing inaudible tags, name corrections, or other corrections to your transcript.
| Note: Do not edit your file while a translation is in progress. Any changes made will not be reflected in the Translation service. |
- Basic adjustments to the synchronization between text and the media file can be made by moving words to available blanks and deleting them from the original location.
- Save your progress by clicking Save Changes.
- Click Finalize File after proofreading your edits to have the changes propagate to your 3Play Media file. (See Step 5 for more info on Save Changes vs. Finalize File)
Prerequisites
- Transcription and captioning services must be complete prior to being able to edit a file using the transcript editing tool.
Expiring Editing Links
-
If you'd like someone to edit a file but you do not want to grant them access to your account, create an Expiring Editing Link (EEL) for your translation.
- Click here for more information regarding Expiring Editing Links.
Updating Captions on Linked Accounts
-
Automatic postback from 3Play to your linked account only applies to the initial transcript and caption postback. Subsequential edits are not posted back automatically.
-
If you made edits to a file that has already had the first set of captions posted back to the linked acount, you may need to manually postback any edits that you make, each time that you make changes to the file.
- Manual postback will need to be preformed after saving and finalizing the file within the Edit Transcript tool interface.
- Click here for more information regarding Manual Postback.
-
If you made edits to a file that has already had the first set of captions posted back to the linked acount, you may need to manually postback any edits that you make, each time that you make changes to the file.
Please scroll to the bottom of this article for other important warnings.
3Play Media Edit Transcript interface at a glance

Steps to Use the Transcript Editing Tool
1. Open the File Details page
- Locate the file from the My Files page that wish to edit. Click the file's name to open the file show page.
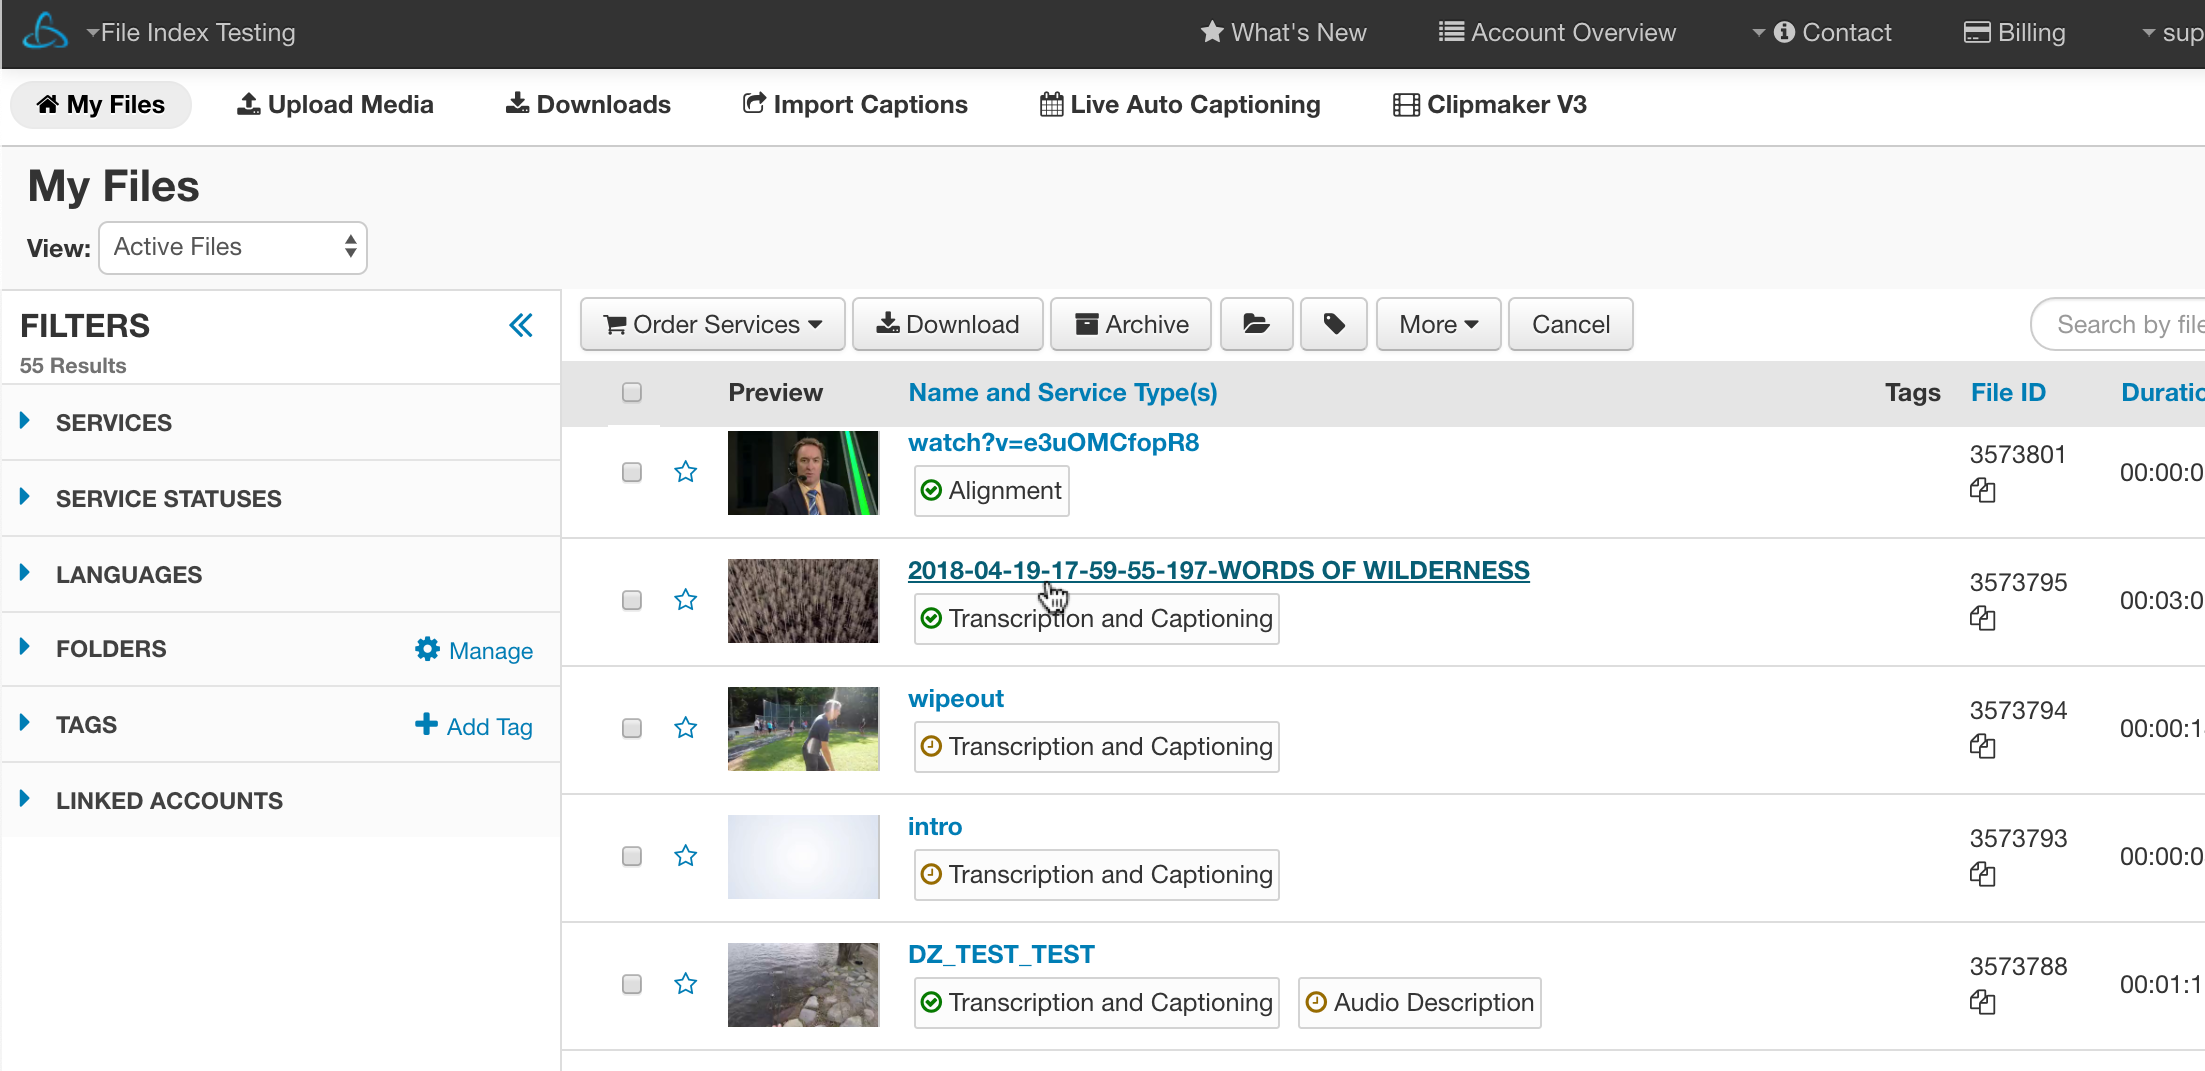
2. Click the Edit Transcript icon
- Click the Edit Transcript icon located above your transcript.
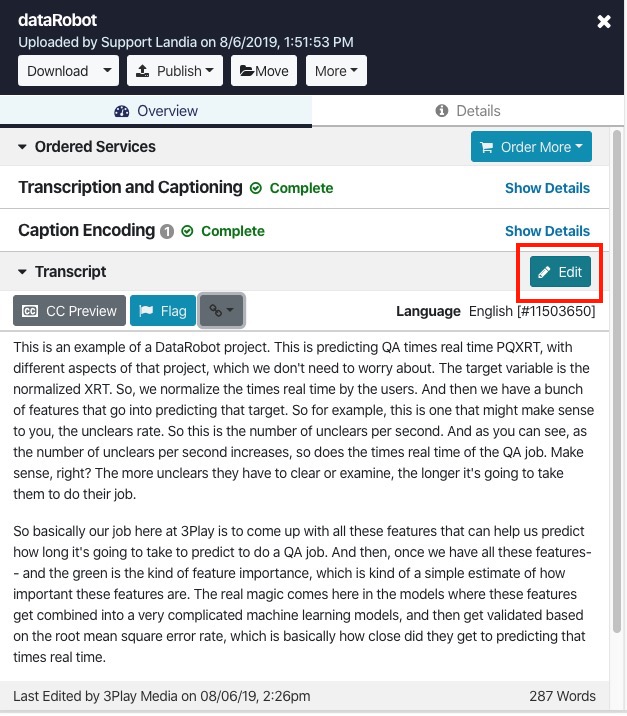
3. Edit the transcript
- Once the transcript has loaded in the Edit Transcript interface select from one of the available actions or tools:
Editing and Styling Modes
Here are the available editing and styling modes available using the edit transcript tool.
| Note: Font styling (bold, italics, and underline) will only appear in the downloadable HTML transcript version of your file. |
Edit Word
- Click a word in the transcript you would like to edit.
- Once clicked, the word and others associated with that timestamp will become editable within a text field.
- Edits made to words will be indicated in green.
- After editing words in your transcript click the Edit Word button to deactivate editing mode.

![]()
| Note: Do not insert multiple phrases or full sentences into a single word cell, as this can cause captions to fall out of sync. If needed, add one word per cell. If there aren’t enough blank cells, you can combine a few words, but keep it to a minimum to maintain sync. |
Delete Word
- Click a word in the transcript to delete it. Click the word again to undelete it.
- When you are done, click the Delete Word button to deactivate this editing mode.
- Instead of Delete Word, we recommend clicking Edit Word and clearing the text from the cell, that way, the blank cell will remain in case you need it later.
B (bold)
-
Click a word in the transcript to make it bold. Click the word again to undo the bold styling.
When you are done, click this button again to deactivate this styling mode.
I (italics)
-
Click a word in the transcript to make it italicized. Click the word again to undo the italicization.
When you are done, click this button again to deactivate this styling mode.
U (underline)
-
Click a word in the transcript to underline it. Click the word again to remove the underlining.
When you are done, click this button again to deactivate this styling mode.
Edit Paragraph
- Hover your cursor over the word where you would like to create a paragraph. Click this word to create a paragraph break.
- If you are unsatisfied with where you made this edit this can be undone. To undo a paragraph break you just created, click the word again to revert to the word's previous position.
-
When done creating paragraph breaks, click this button again to deactivate this editing mode.
Pro Tip! If a caption frame hangs for too long, the timing can be edited by creating a paragraph break using this editing mode.
EDITING TOOLS
Here are the available Editing Tools from the Edit Transcript interface:
Find and Replace

The Replace and Find tool is a great option for making edits to words that occur in one or multiple places in your transcript. You can also use this tool for the Find functionality to locate a word in your transcript without having to replace it.
- To locate a word in your transcript, enter the word into the Find field and press enter/return on your keyboard.
- The number search result matches will be listed to the right of > button.
- By default all matches will highlighted in yellow within your transcript and you can navigate to the different returns by clicking either the < or > button within the Replace and Find tool.
To replace a word found in one or multiple locations in your transcript, enter the replacement term in the Replace field after completing your initial search. Each Find result will be highlighted in yellow in the transcript preview.
- Click the left or right arrow buttons to navigate through your search results. When you have navigated to the search result you would like to switch with the word in the Replace field click Replace and Find and the word from the Replace field will appear in place of the selected search result. The newly added word will appear in green.
- The word entered in the Replace field will be listed under the Modified column.
Replace All
- Exchanges all instances returned in the Find field with the word entered in the Replace field.
- An alternative to the Replace All button is to replace the original word in your transcript with the new word on a case by case basis. To do this simply click Replace on the row that corresponds to the instance you want modified. Once Replace is clicked, the term in replaced and highlighted in green in your transcript.
Timestamps

Click the Timestamps button and a pop-up menu will appear prompting you to choose how often you would like timestamps to appear in the Transcript Editing interface.
The choices are:
- Do not show stamps
- Show stamps every 10 seconds
- Show Stamps at each paragraph
The option Show stamps every 10 seconds can be changed to your preferred interval.
Once you have selected your preference, click Close and the timestamps will display throughout your transcript.
| Note: Timestamps in the Transcript Editing interface are for reference only and will not appear in your file. To get a transcript with timestamps, download the Stamped Doc version from your account. |
Show Flags
- Check the box Show Flags to display flags and [INAUDIBLES]s left by transcription editors denoting words that cannot be heard or confirmed.
- If flags have been left in your transcript a count of occurrences will display to the right of the Show Flags check box.
Show Blanks

![]()
-
Click Show Blanks to display time points in the transcript where no words were transcribed.
Words can also be added to blank cells. - Each blank is roughly 300 milliseconds long.
4. Click Save Changes
- Click Save Changes to save your progress within the Edit Transcript interface.
- The edits will only propagate to the actual 3Play Media file on the My Files page once Finalize is clicked.
5. After proofreading, click Finalize File
- Proofread the edits made to your transcript. The words that were changed in Edit Transcript interface will be denoted in green.
- Once satisfied with the changes made to your transcript, click Finalize File to have your edits propagate to the 3Play Media file listed on the My Files page.
From the My Files page your file will be temporarily unavailable for download and other actions until this process has finished.
| Note: Finalizing a file does not prevent further edits. You can always update your transcript, and Finalize File simply regenerates the captions or transcript with your latest changes. |
- Save Changes = Your edits are saved, so you can come back later and continue editing. However, if you view the captions/transcript in 3Play, they will not yet reflect your edits.
- Finalize File = Your edits are applied to regenerate the captions/transcript. If you view the captions/transcript in 3Play, your edits will be reflected.
Warnings
-
Please do not paste any special characters, such as accented characters and Microsoft dashes into the text editor.
Please avoid pasting directly from word processing programs such as Microsoft Word.
Special characters or symbols will be scrubbed from the transcript, and at times, can create more serious errors. - Please refrain from adding large amounts of text to a particular cell. This will throw off the time alignment of the text to the media file.
- The editor accepts numbers, letters, spaces and the following characters: ' " _ - ? ! . , @ # $ % ^ * ( ) [ ] { } = + | /