After receiving an email notifying you that your files are complete, follow the steps below to manually add captions to your Panopto recording.
Step 1- Log into 3Play Media

Step 2- Select the File
Select the file associated with your Panopto recording from your list of files.
When it has been selected, the box to the left of the filename will become checked and the line will become highlighted in blue.
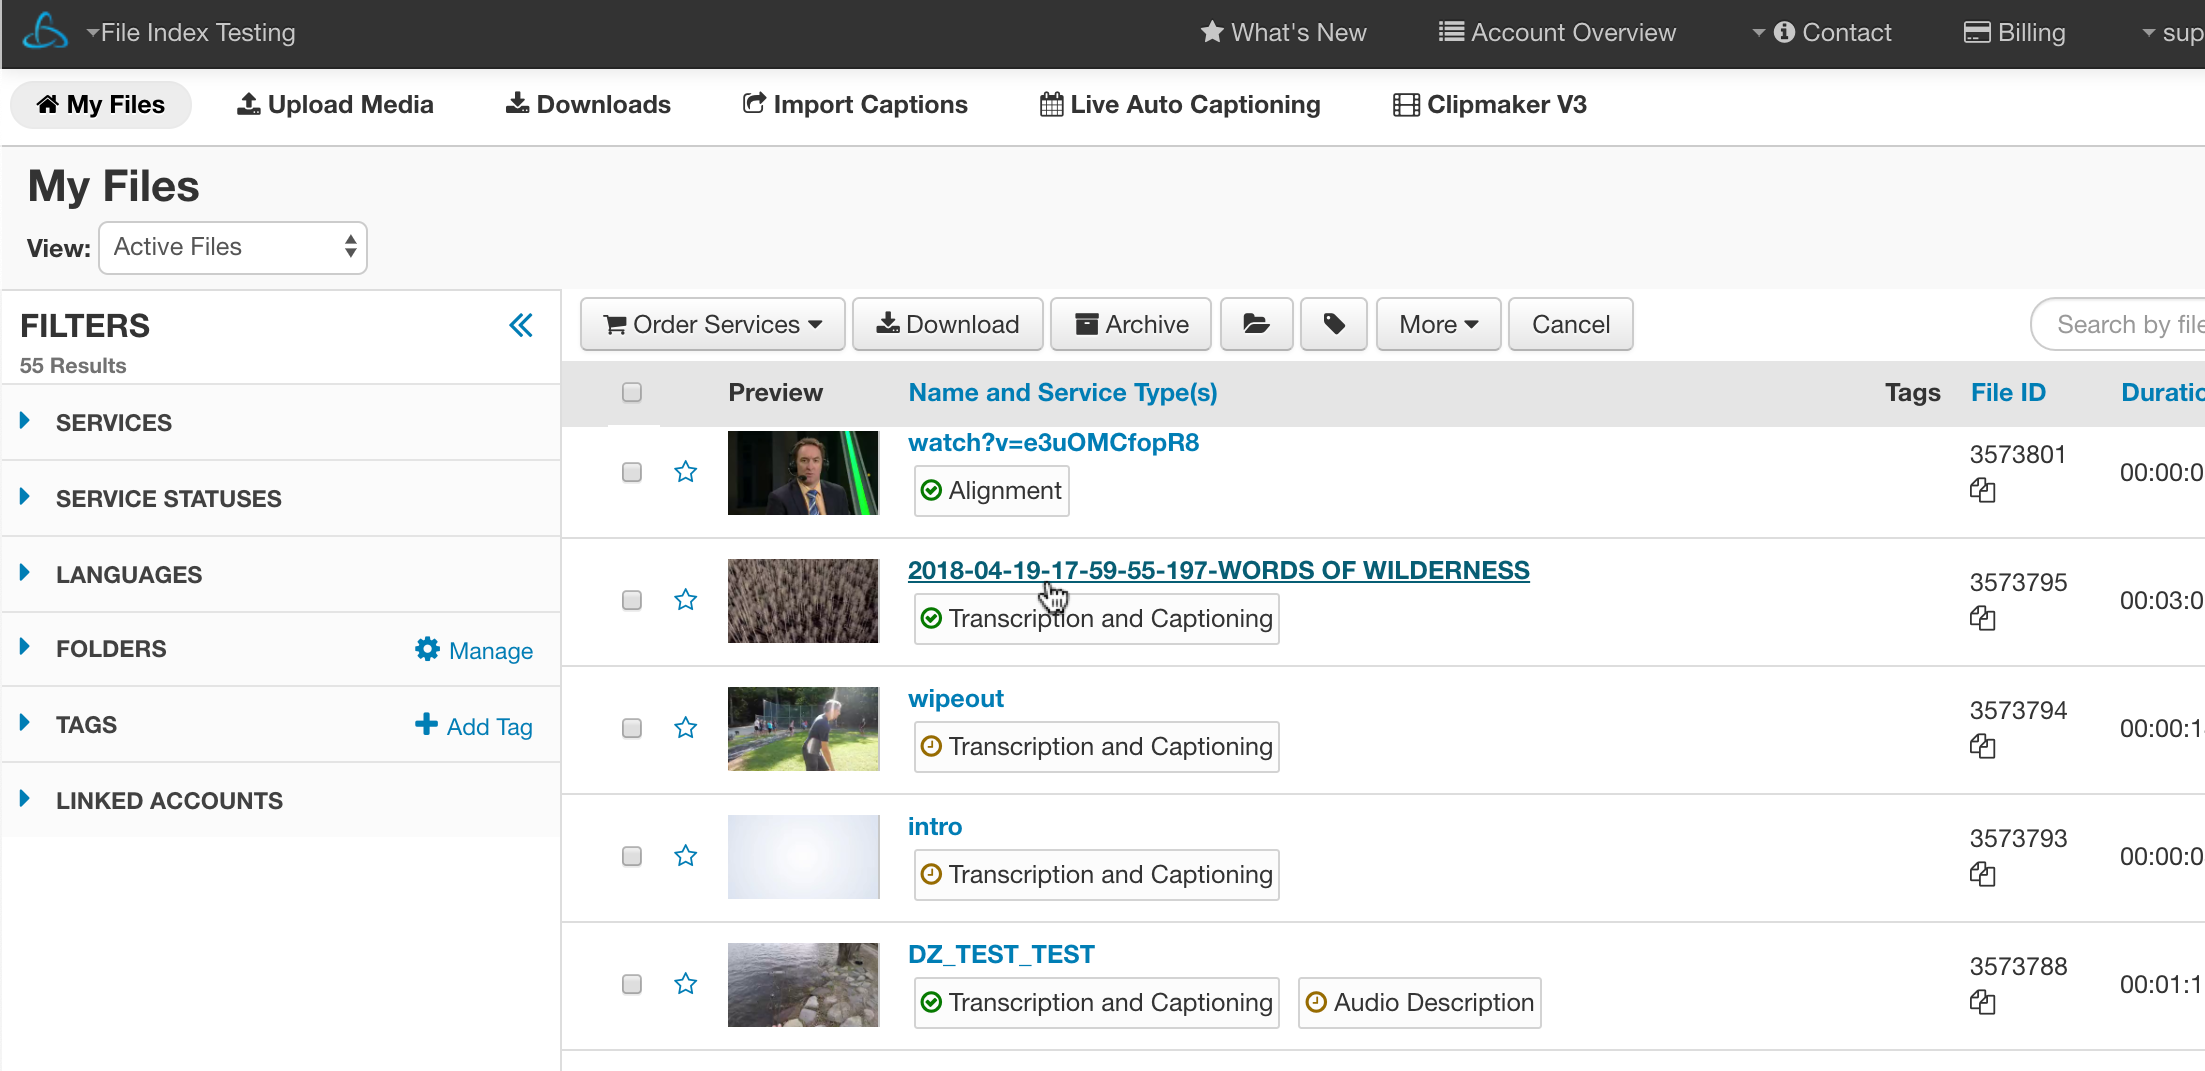
Step 3- Click Download
Click on the Download button located above your list of files.

Step 4- Download the DFXP Format
From the pop-up menu click the download icon for the DFXP format.
After clicking the icon the file will immediately begin downloading to your computer.

Step 5 - Log in to Panopto
Step 6 - Select the Desired Panopto Video
Click on the desired file in your Panopto "Home" page or Panopto Library.
Step 7 - Navigate to the File Settings
Click the settings icon in the upper right-hand corner of the page.
Step 8- Click Captions
Within the Settings menu click Captions.
Step 9 - Click Choose File
Make sure to set the language for the file to the correct language for your captions. If you have made additional edits to the file, be sure to click the "Captions are based on the edited session" check box. Then, click "Upload Captions".
Step 10 - Test captions
You will get a confirmation that your captions were successfully uploaded.
Play the session to confirm that the captions are displaying correctly.
