Transcripts and Closed Captions will automatically post-back to your account if you are using the integration with Echo360 and 3Play Media but they can also be manually added to the Echo360 environment.
PLEASE NOTE: The XML (Custom) caption format required for Echo360 will need to be added to your account by either your 3Play Media account manager or 3Play Media Support.
Once the XML (Custom) format has been added to the account you can configure this format as a favorite format so it will be readily available when performing a quick download.
See more information on configuring your Favorite Format settings.
Step 1- Select the file
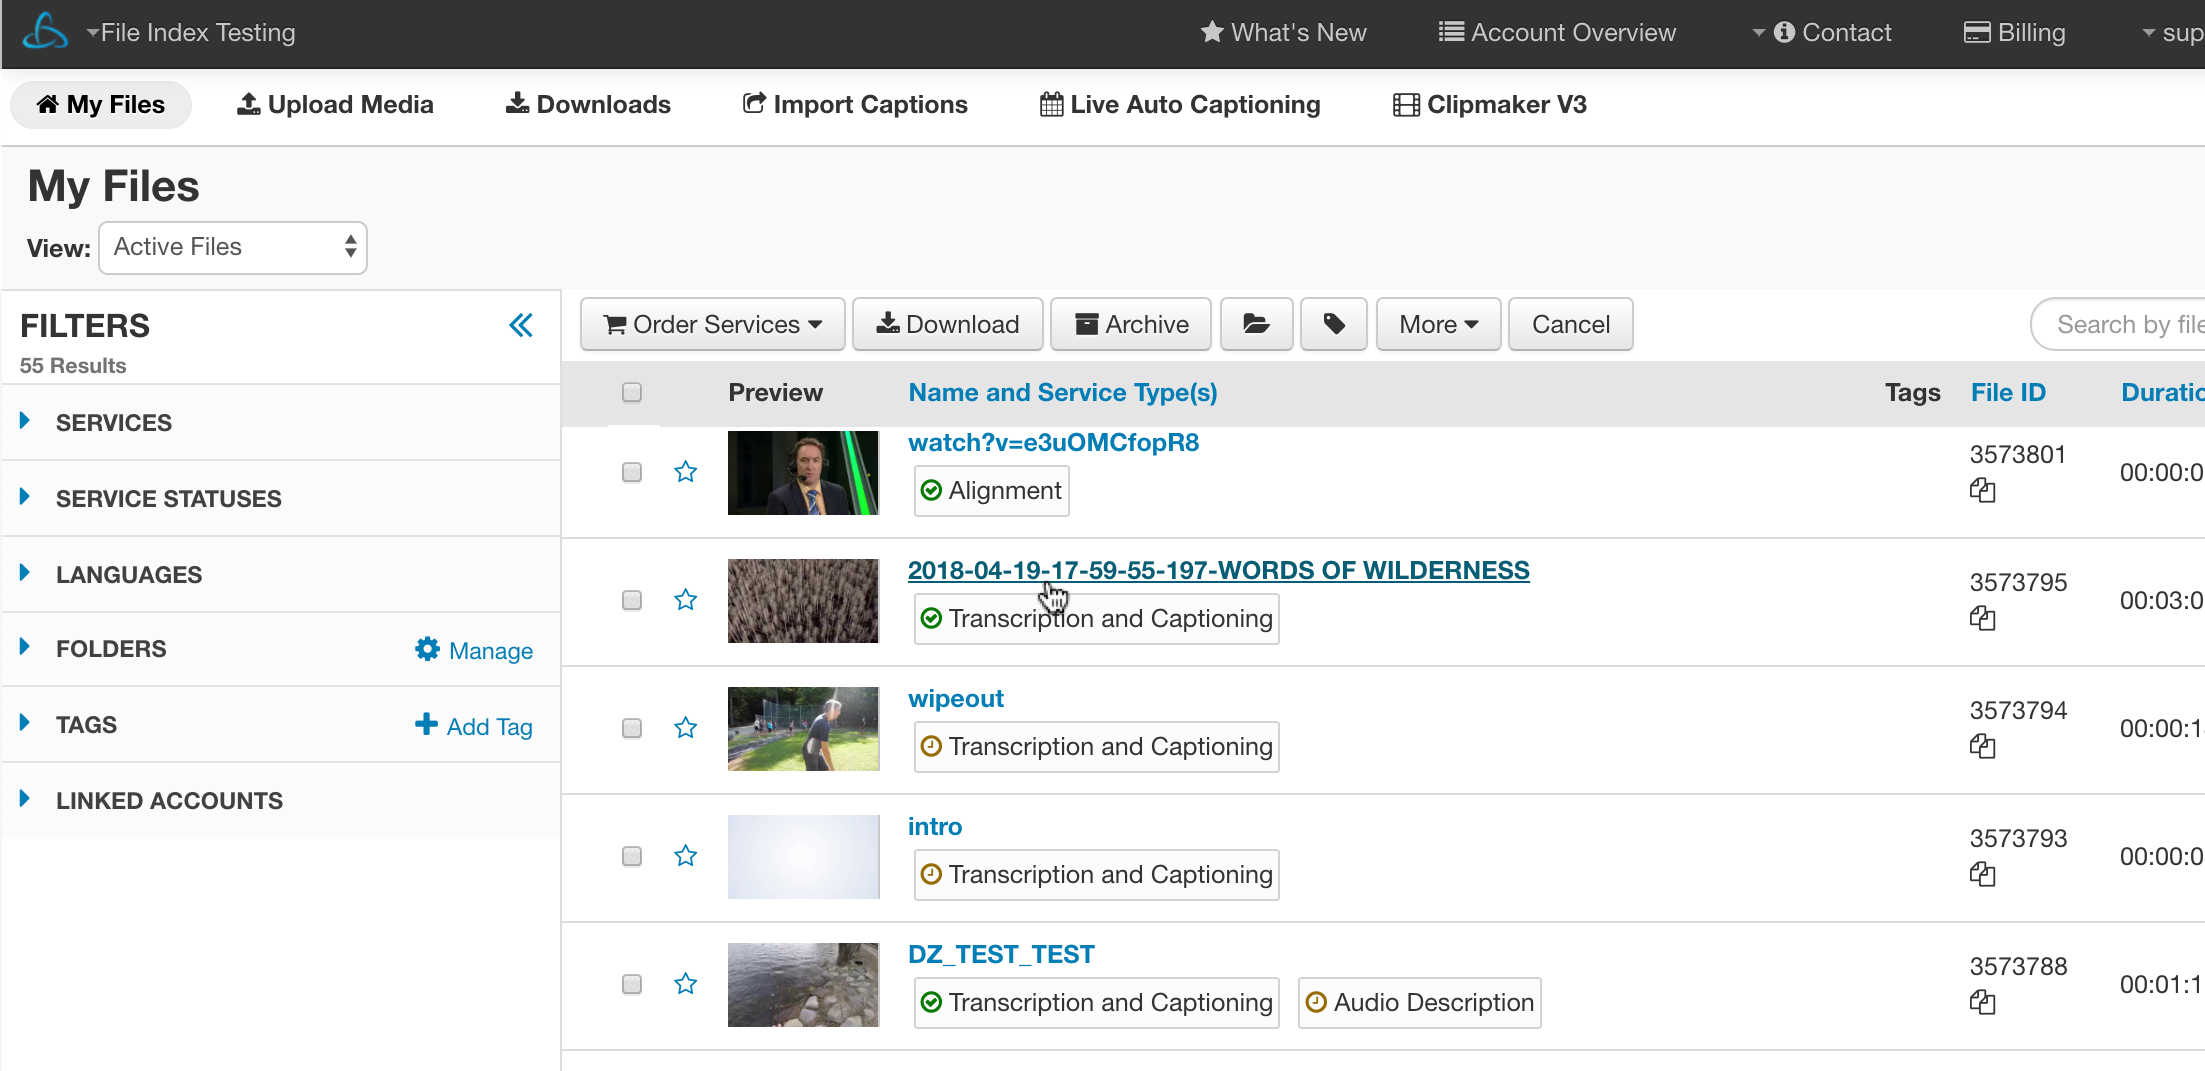
Go to the My Files page in your 3Play Media project that is linked to your EchoSystem.
Click on the name of the file associated with your recorded Echo.
Step 2- Click Quick Download icon

Step 3- Quick Download XML (Custom)
From the drop down menu that appears click XML (Custom) and it will immediately download to your computer!

Step 4- Log into Echo360
Step 5- Navigate to your Echoes
Navigate to Echoes > Echoes.
Step 6- Locate your Echo
Locate your Echo and click Edit.

Step 7- Click Add Resources
Step 8- Add Your Transcript or Closed Captions
Select the closed caption file and/or transcript file you wish to add to your Echo.

Step 9- Click Add Resources
Step 10- Click Save

Step 11- Test and configure your captions or transcript
Open the Echo in the EchoPlayer. You should see the CC button in button bar.

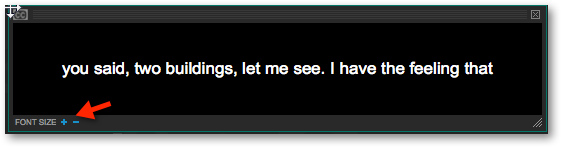
Notice that the closed captions appear in a separate pane that can be closed, resized, or moved around the EchoPlayer window. You can adjust the font size of the closed captions by clicking the plus and minus buttons.