Note that if you are using QuickTime Pro version 7.7.2 and up on a PC you may find that your captions do not appear. For PC users, uninstalling version your current QuickTime Pro version and reverting to QuickTime Pro version 7.7.1 should resolve this issue.
Step 1- Select the File
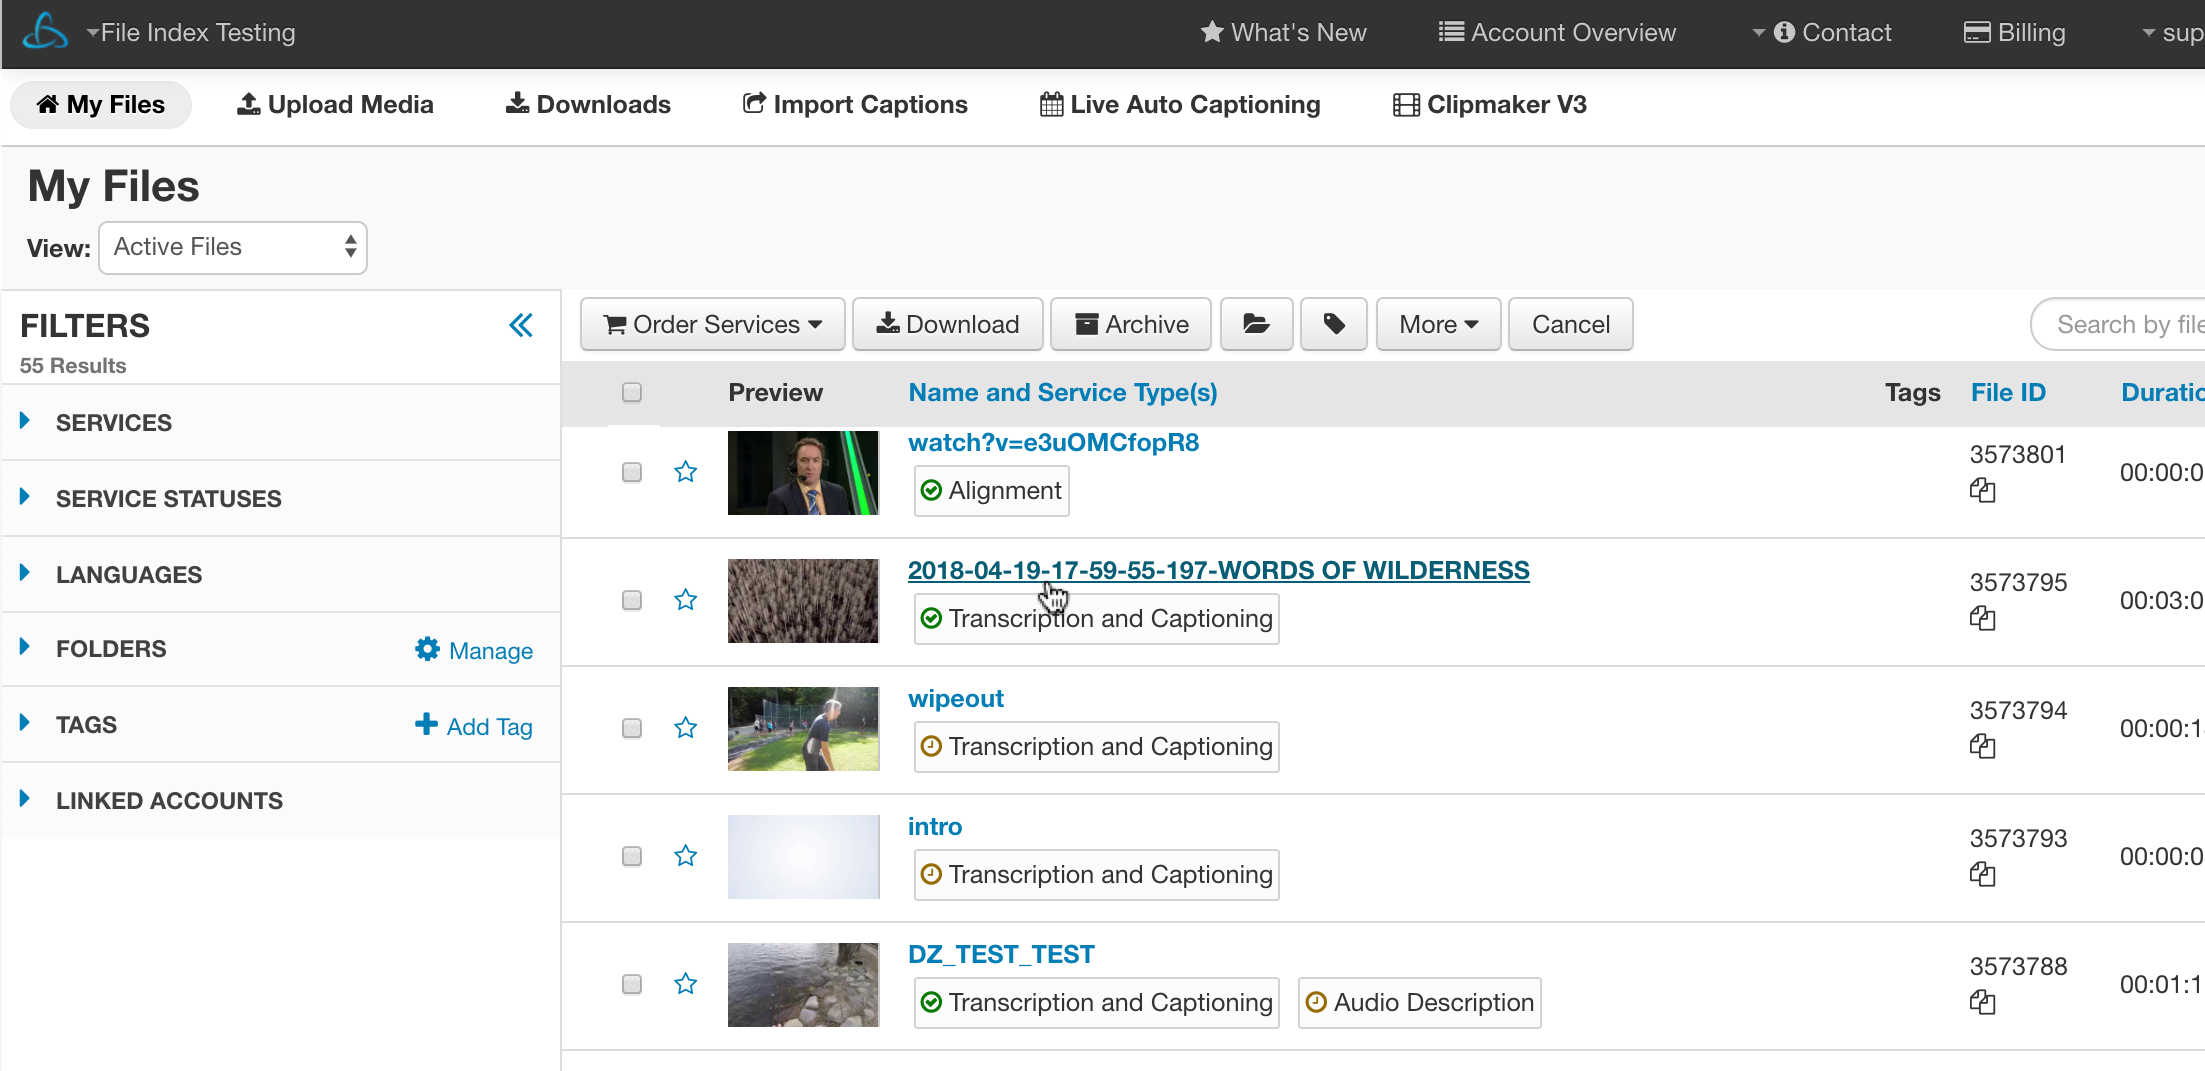
Locate the file from the My Files page that you need to download.
Click the file's name to open the file level actions menu.
Step 2- Click Quick Download Arrow
Click the arrow to the right of the Download button.

Step 3- Download the QT Format
Click the QT caption format and it will download to your computer immediately.

Step 4- Open Video in QuickTime Pro
Open the video file in QuickTime Pro. (If you don’t have QuickTime Pro you can purchase it from Apple for $29.95.)
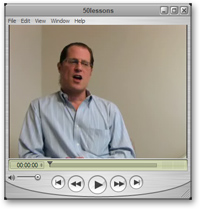
Step 5- Open Captions in QuickTime Pro
Using QuickTime Pro, open the captions file that you downloaded from your 3Play Media account. This will open a separate QuickTime window that shows just your captions without the video. Copy the captions to the clipboard by clicking Edit > Select All and then Edit > Copy.

Step 6- Add Captions to the Video
Go back to the QuickTime window with the video and make sure that the playhead is at the beginning. Add the captions by clicking Edit > Add to Movie. After doing this close the QuickTime window with the captions.
Step 7- Adjust the position of the captions
The default position of the captions is above the video. To move the captions below the video, navigate to Window > Show Movie Properties > Text Track > Visual Settings and change the vertical offset.
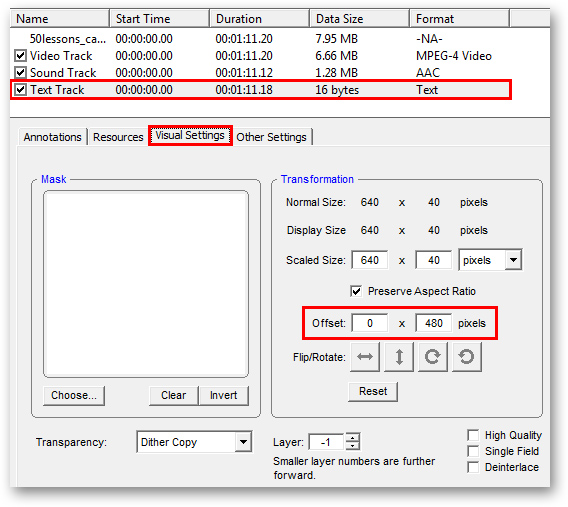
Step 8- Note Video Pixel Dimensions
You’ll need to know the pixel dimensions of your video. You can get this information by selecting Video Track > Visual Settings.
Step 9- Change Vertical Offset
To position the captions underneath the video, make the vertical offset equal to the height of your video. For example, if your video pixel dimensions are 640×480, you should change the offset to be 0 x 480. Once this is done close the Movie Properties window.
Step 10- Save the Video
Select the QuickTime window with the video and select File > Save As and select Save as a self-contained movie.