Step 1- Download toggle_caption.mov
In order to add a CC button that lets your users turn the captions on or off you will need to download the free QuickTime sprite. The file that you need to save is called toggle_caption.mov.
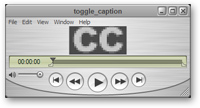
Step 2- Copy toggle_caption.mov
Open the toggle_caption.mov file in QuickTime Pro. This will open a separate QuickTime window that shows the CC button. Click Edit > Select All and then Edit > Copy.
Step 3- Click Add to Selection and Scale
Go back to the QuickTime window with the video and make sure that the playhead is at the beginning. Click Edit > Add to Selection and Scale. You can now close the QuickTime window with the CC button.
Step 4- Rename the text track
Navigate to Window > Show Movie Properties and rename the text track to caption. To do this, select the text track and then click once on the text itself.
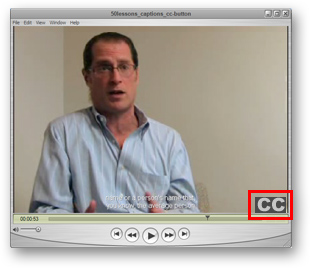
Step 5- Position the CC button
Select toggle_caption > Visual Settings and position the CC button by adjusting the horizontal and vertical offset. Close the Movie Properties window.
Step 6- Save the video
Select the QuickTime window with the video and select File > Save As and select Save as a self-contained movie.