Note: If you want to add captions/subtitles to your YouTube video, you must own the rights to the video. The video must be on your channel, not someone else's.
Step 1- Select the File
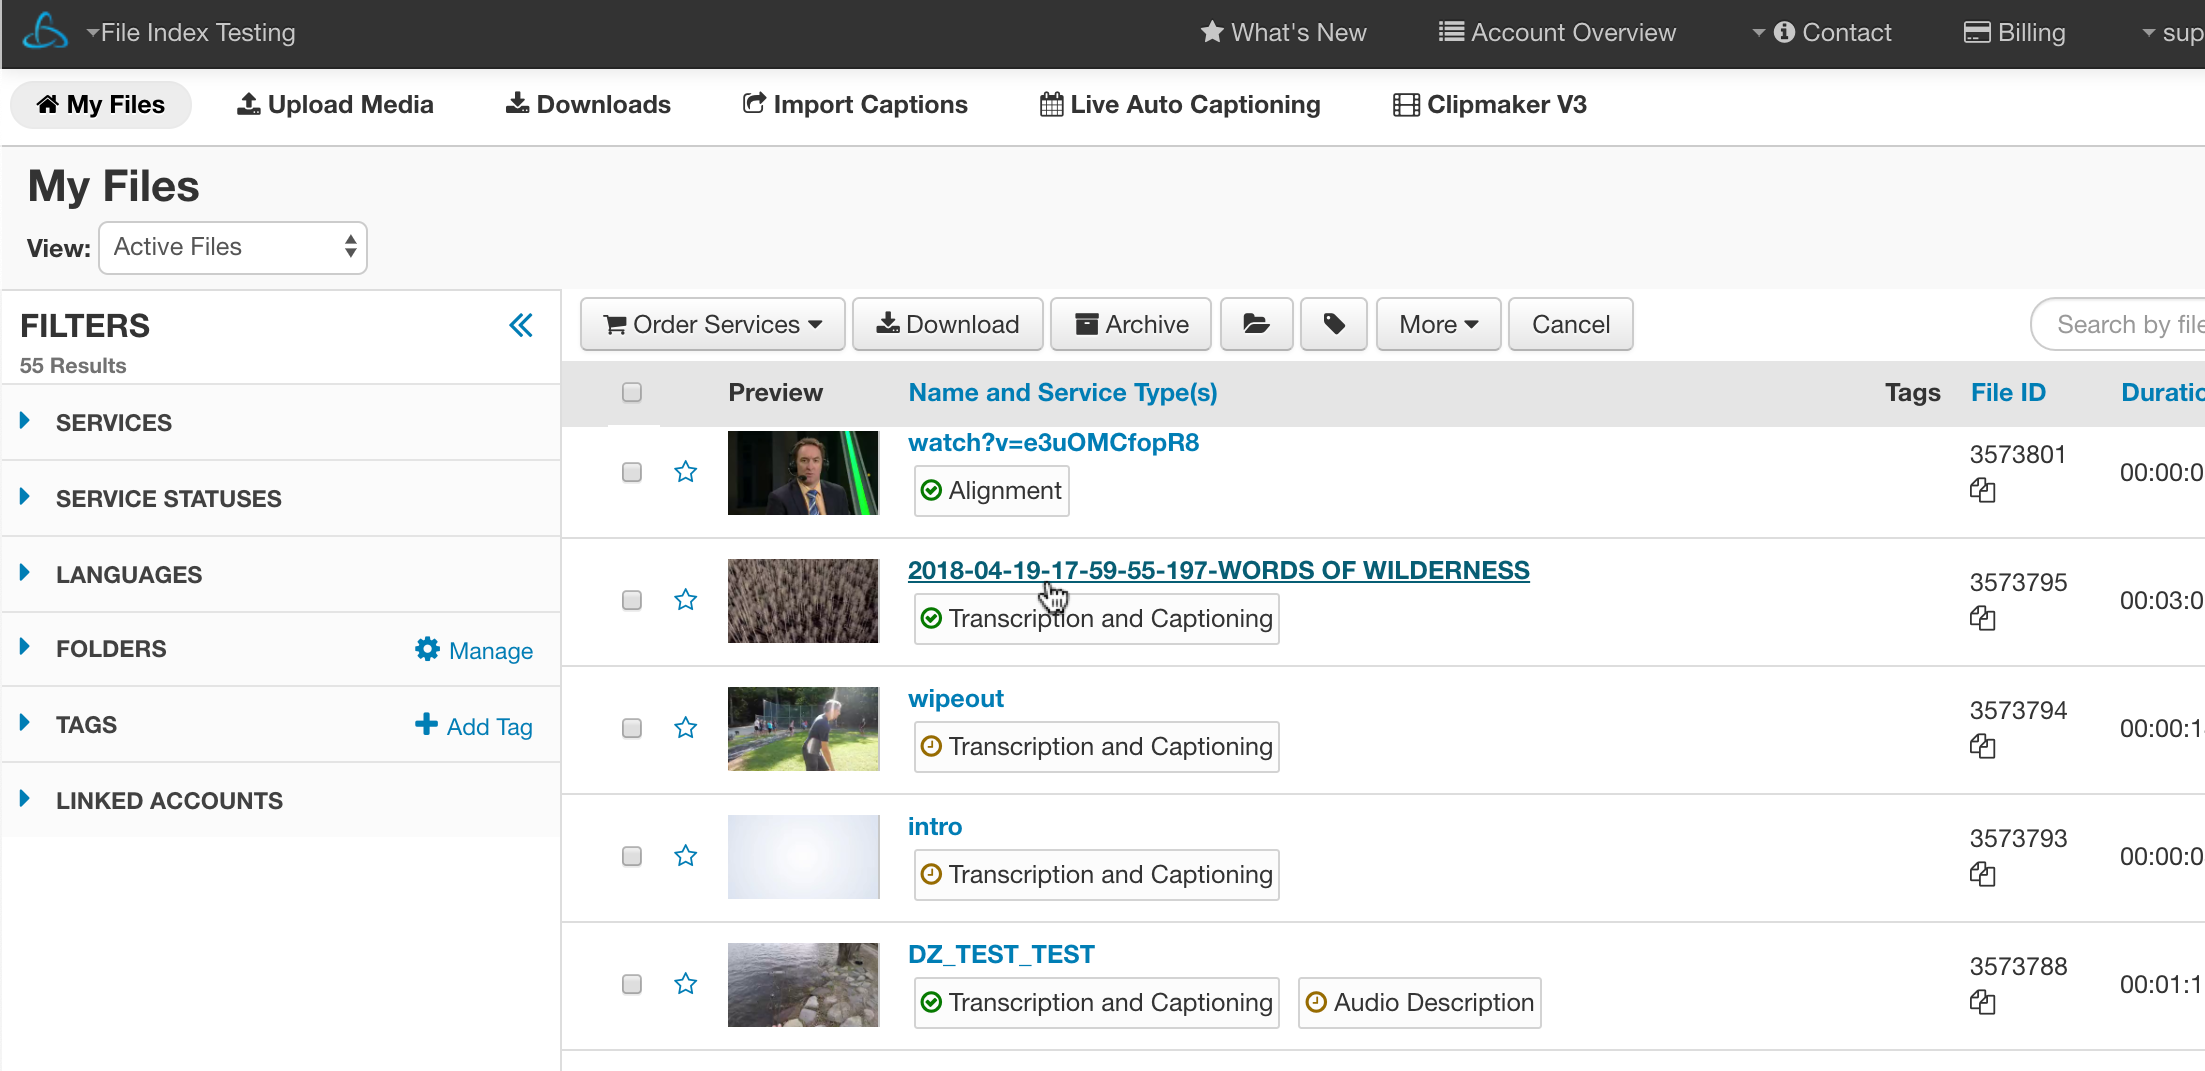
Once logged into 3Play Media you will be directed to the My Files page. Click the file's name to open the file show page.
Step 2- Click Download
Click the Download button on the file show page.

Step 3- Download the SRT format
Click SRT from the Web Caption Formats section.
- Once clicked, the file will download in the SRT caption format.

Please note vertical caption placement is not supported by the SRT format. If caption placement was ordered for the file, instead of SRT, download the file in the webVTT format as webVTT does support caption placement and is also accepted by YouTube.
Step 4- Open YouTube Studio
Sign into your YouTube account, then expand the top-right menu and click YouTube Studio.
Step 5- Navigate to "Subtitles"
Click "Subtitles" from the menu on the left side of the page. Then, select your desired video.
- Note that if your file does not have subtitles or captions yet, you will need to select the language that your video is in prior to adding any caption or subtitle files.
Step 6- Click "Add Language"
Click "Add Language", and select the correct language for your caption file.
Then, when a new entry pops up for your caption file language, click "ADD" under the "Subtitles" column.
Step 7- Upload Subtitles/CCs
Click Upload file, then select With timing and click Continue. Choose the .SRT file when prompted. Click Save.
Google's tutorial for adding captions and subtitles to YouTube can be found here.