Step 1- Log into your 3Play Media account
After receiving a notification email that your file is ready for download, log into your 3Play Media account.

Step 2- Select your file
Locate the file associated with the video you intend to work with in Windows Media Player or Silverlight. When it has been selected, the box to the left of the filename will become checked and the line will become highlighted in blue.
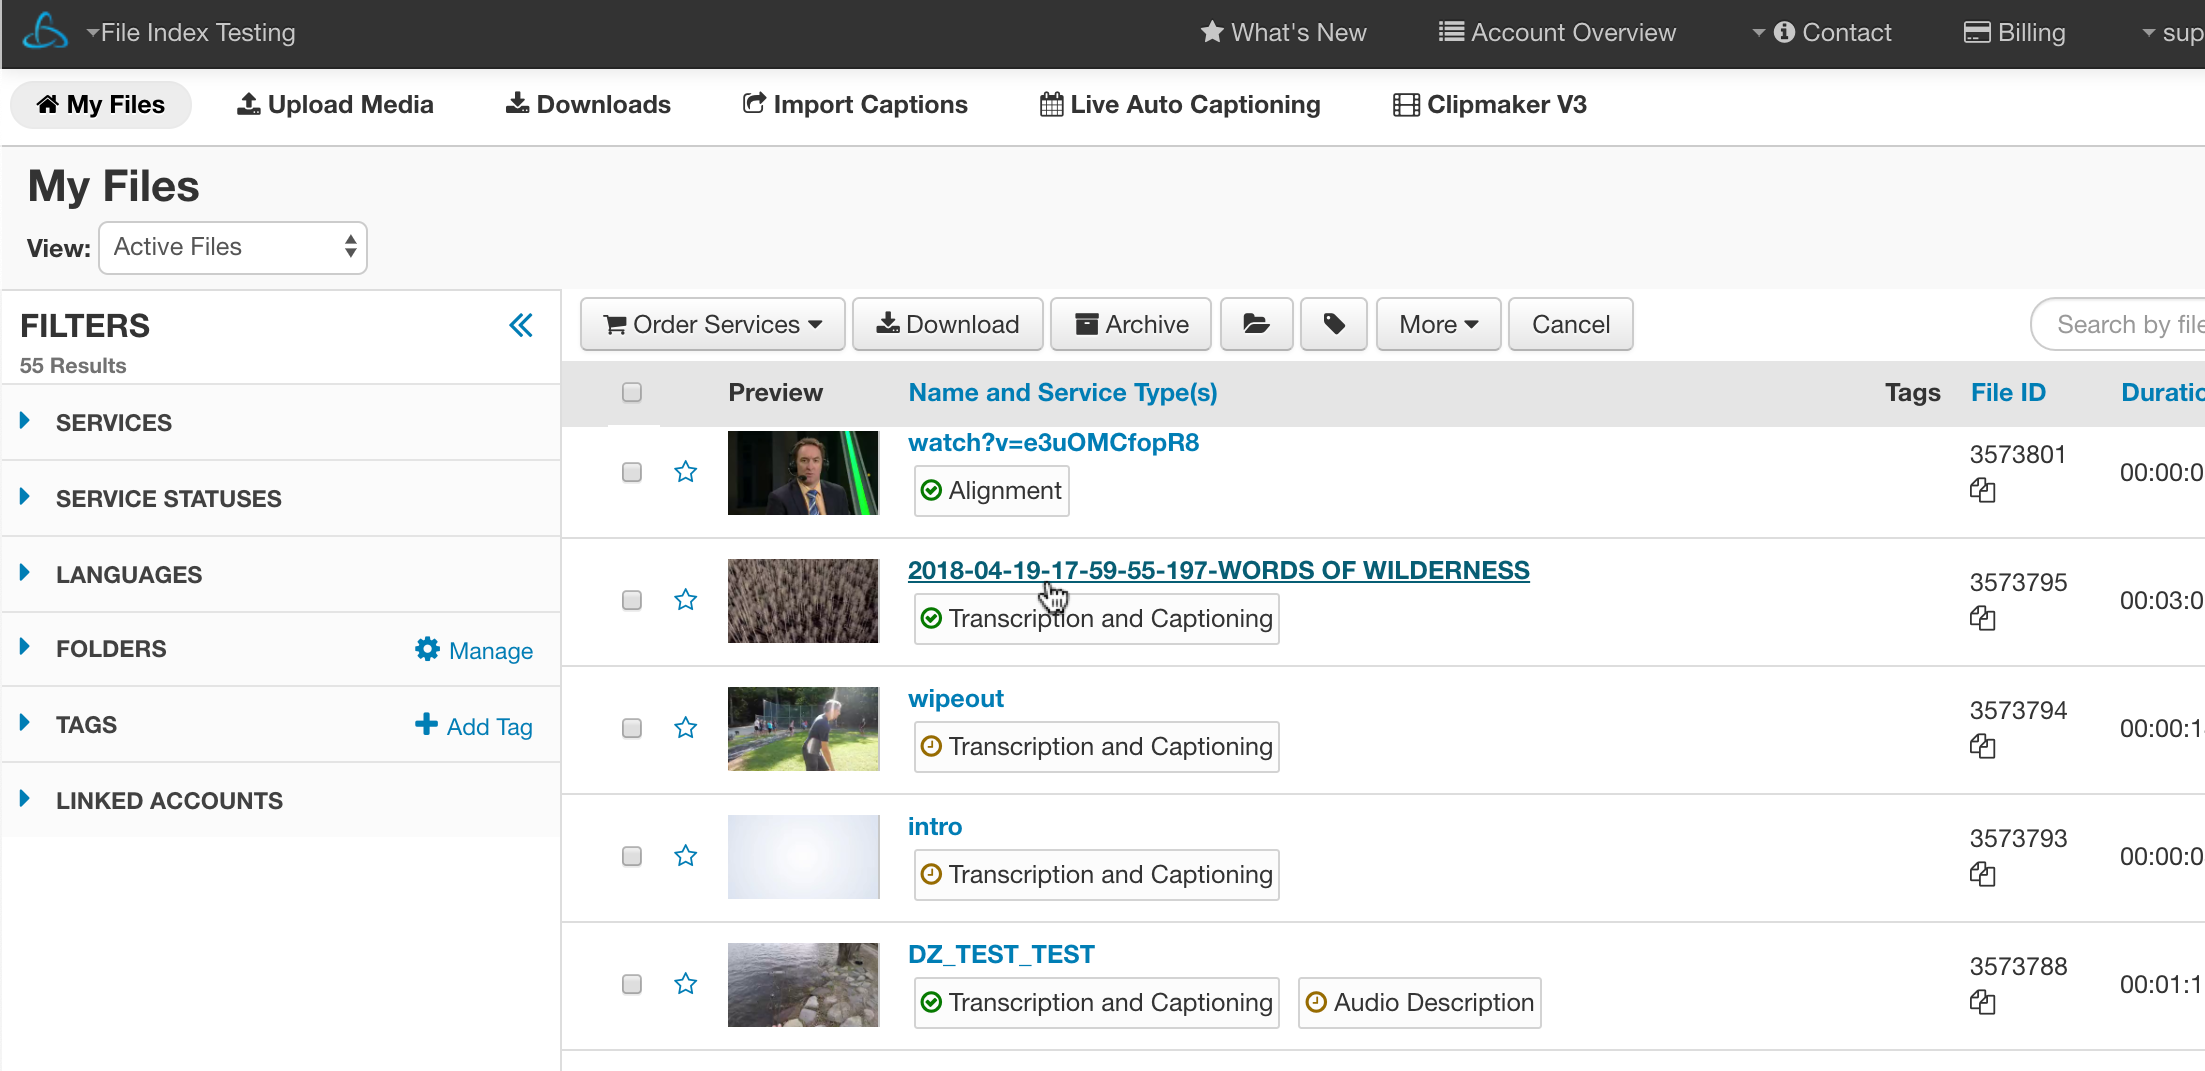
Step 3- Click Download
Click on the Download button located above your list of files.

Step 4- Download the SMI format
The Download pop-up menu will appear.
Click the check box for the SMI file format and click Next.
There will be no advanced settings for SMI, click Next.
The Download Summary page is next. Your selected formats will be compressed into a .zip folder. It will be stored and available for download in the Downloads section of My Files. You also have the option to receive an email with a link to download the zip folder. On the right is a summary of the caption files to be downloaded.

Step 5- Place your media and SMI files in the same directory
Place your SMI file in the same directory as the media file. Make sure that the names match exactly and that the extension of the captions file is .smi. To make sure that the extension is correct, open the Windows directory that contains the two files and select Tools > Folder Options > View. Then uncheck the box hide extensions for known file types.

Step 6- Test your video with captions
Captions should now show up when you play the video. Note that you may need to adjust the player settings to display captions (see the article Windows Media Player Settings).