
Follow the steps below to download a Tegrity recording to your computer to then upload directly to your 3Play Media project. Please note that the format your lecture is downloaded in from Tegrity will vary depending on how the recording was created and the course settings.
Whenever possible please try to download the mp4 of your lecture.
If you are not able to download the mp4, please download the mp3 recording from Tegrity.
Step 1- Select the recording
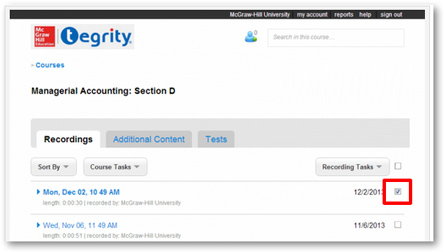
From within your Tegrity account navigate to Courses > Recordings and locate the recording intended for download.
Check the box to the right of the recording you want to download.
Step 2- Click Recording Tasks
Click the Recording Tasks button located above the recordings.

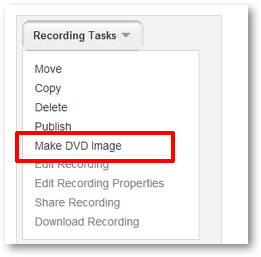
Step 3- Click Make DVD Image
From the Recording Tasks drop down menu, click Make DVD Image and follow the prompts to save the MP4 file to your computer.
If the option to download the recording is unavailable please download the mp3 recording from Tegrity.
Step 4- Log into your 3Play Media account

Step 5- Switch to your Tegrity project
If you have a project dedicated to your Tegrity recordings switch into this project.
To switch projects, click the name of project you are currently in. This is located on the top, left-hand corner of the page. From the drop down menu that appears select your Tegrity project and switch into this project.
See more information on how to switch to between 3Play Media projects.
Step 6- Upload the lecture
After configuring your transcription settings, upload the lecture to your 3Play Media project directly from your computer and select a turnaround time for the request.
See more information on uploading a Tegrity recording directly from your computer
See more information regarding turnaround service levels