KVStudio includes a feature that allows you to import a 3Play Media transcript into your presentation template. For presentations where you want to have a transcript included, choose one of the KnowledgeVision standard templates that has an area for the transcript to be placed into.
When the transcript is put into your presentation, viewers will be able to read along with the presentation. The template also provides a Transcript Search Bar allowing viewers to search for keywords in the transcript and navigate directly to the time in that presentation where that keyword appears.

Below are the steps involved in creating the transcript and importing it into your presentation template.
Step 1- Copy the Video URL
Log into your KVStudio account and navigate to the published project you want transcribed. At the top of the page, click on the tab Step 2: Select Videos. Next click either Upload Video or Select another option and the following screen is displayed:

Click on Copy Video URL to copy the URL to your clipboard.
Step 2- Log into your 3Play Media account

Step 3- Choose JSON as Favorite File Format
Click Settings>File Formats then check the JSON box. JSON is the file format needed to integrate with KnowledgeVision. See more information on configuring your Favorite Format settings.

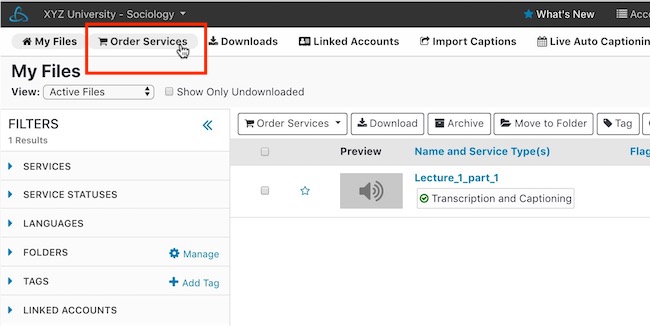
Step 4- Click Order Services
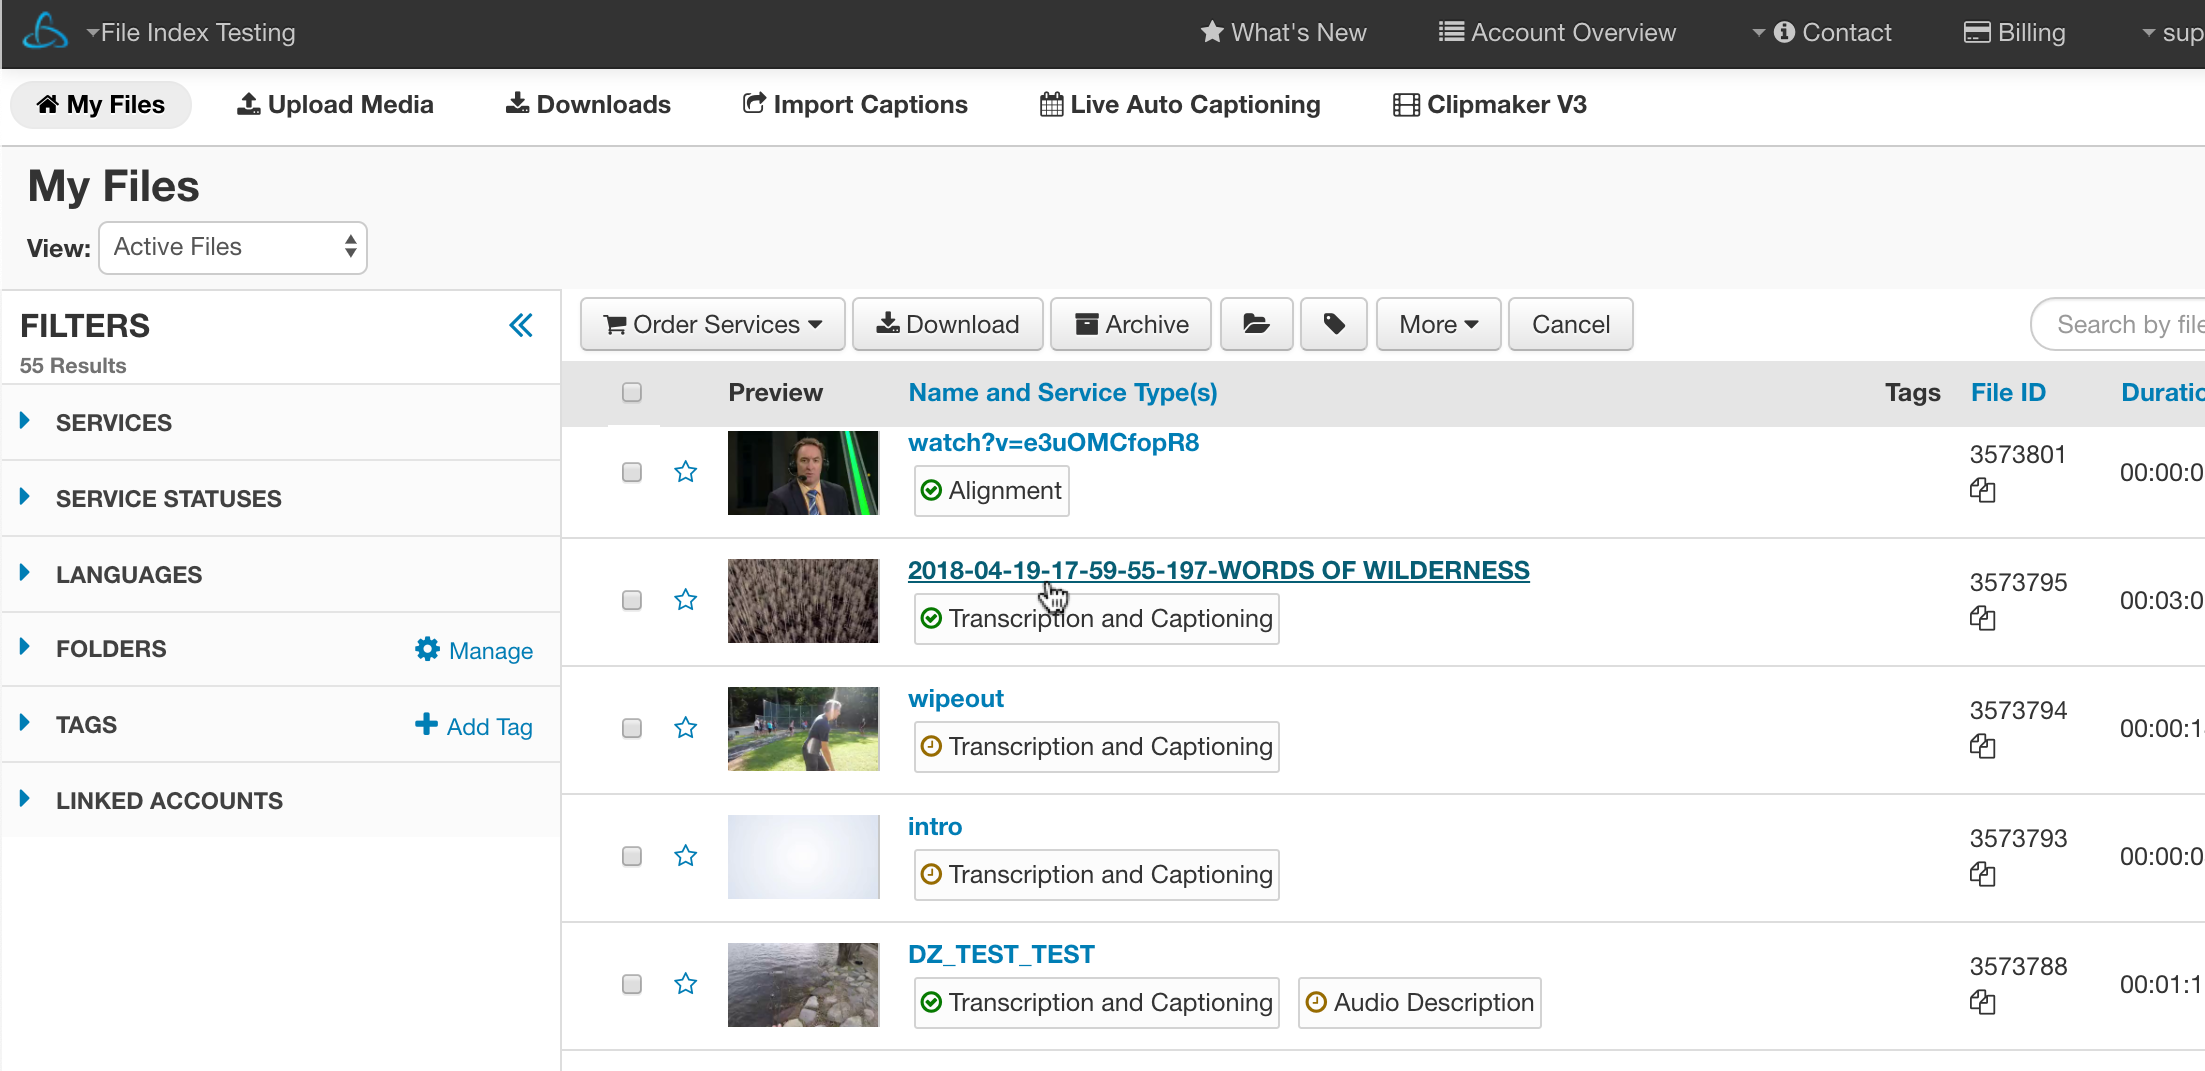
After logging into 3Play Media, click Order Services located on the upper, left-hand side of the My Files page.
Step 5- Select Service
Under Choose Main Service select Transcription & Captioning.
![]()
Step 6- Select Language
After selecting the service, select the language spoken within the media files that will be submitted for this order. Please select the language spoken (or predominately spoken) within the media files for this order.
![]()
Selecting a language solely pertains to the transcription and captioning service.
IMPORTANT: This is not how a language is selected for ordering translation services.
Click for more information regarding Translation services
Step 7- Select Turnaround Service Level
Next select the desired turnaround service level.
![]()
Click for more information regarding turnaround service levels
Step 8 - Add Order Instructions (optional)
After selecting a turnaround service level, check the box if you want to include order instructions.
Note that order instructions are optional so click Next without checking the box, should they not be necessary.

Please note that the purpose of order instructions is not to provide instructions to inform the transcription process but only for providing spellings that are not easily researchable or cannot be inferred by content itself.
Provide correct spellings of product names, people, technical vocabulary, acronyms, and other terminology occurring in the content that is unique, propriety, or not widely known to better help with the transcription process.
Order instructions can be attached as a PDF or in a 500 character limit note.
Click for more information regarding default project-level and folder-level order instructions
Once they have been provided, click Next.

Step 9- Order Additional Services optional
Next select any additional services to be applied to this order.
The services that are available are caption placement and audio description.
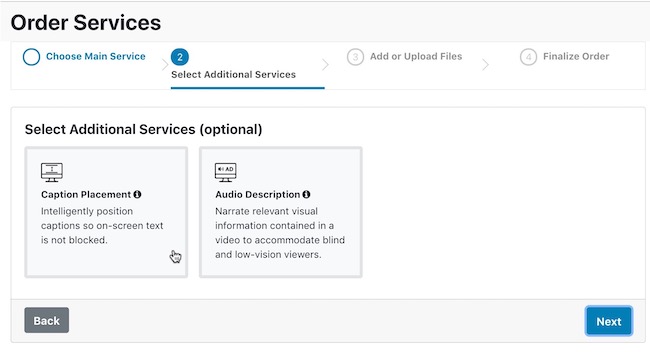
Please note that these services will only apply to video files within the order. A mix of video and audio-only can be uploaded together however any these additional services when ordered for audio-only files will be rejected without costs being incurred.
After selecting additional services, click Next.
Step 10- Enter Links
Copy the link to your video and paste it in the Step 1 field. You can upload multiple links in this field. Once all you links have been entered, click Upload.

Supported links that can be processed
For this method to work links must point to downloadable files that are transferred over HTTP.
These links will end with a media file extension like .mov, .mp3, or .flv.
Examples of links that can be processed:
http://mywebsite/myvideo.mp4
http://mywebpage/interview.aiff
See more information about supported formats and codecs.
YouTube links are also supported as long as they link directly to the video and are public within your YouTube account. If a YouTube link is copied from a web browser you the "s" may need to be removed from HTTPS to ensure the link can be be processed.
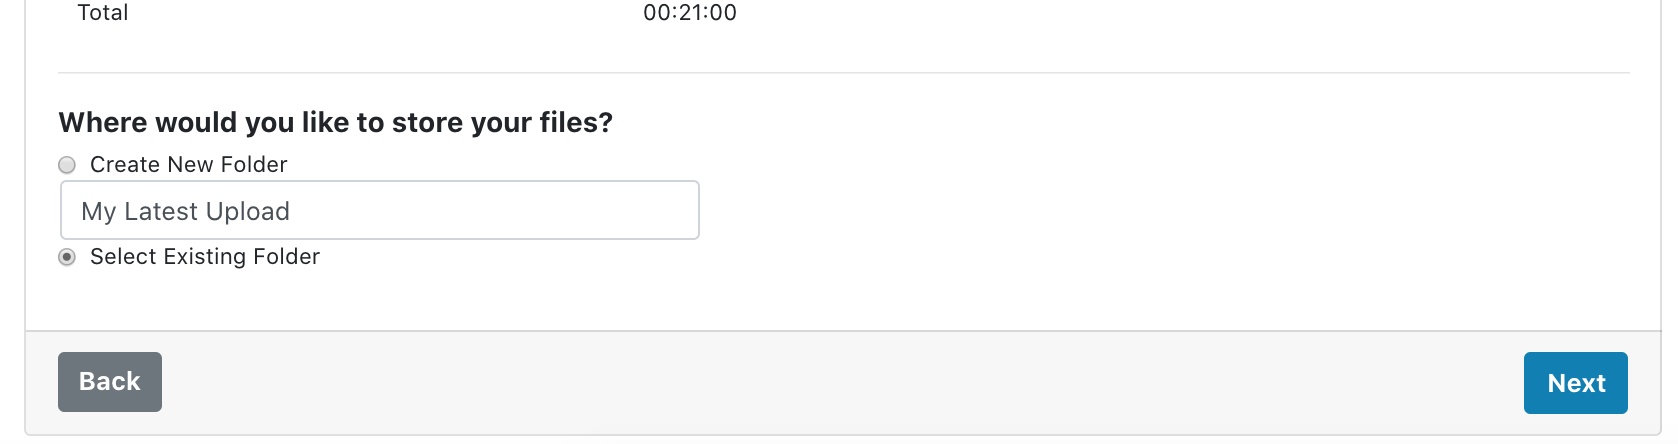
Step 11- Select Folder
Select an existing folder to upload your content to or create a new folder for these media files.
Once a folder has been selected click Continue.
Step 12- Review Order and Cancellation Policy
Review your order summary.
If you would like to change your folder, turnaround time, service type, or media files please go back and make changes BEFORE clicking Place Order.
Please read the cancelation policy and check the box acknowledging that you have read this.
It is recommended to know how to cancel a file BEFORE uploading your content.
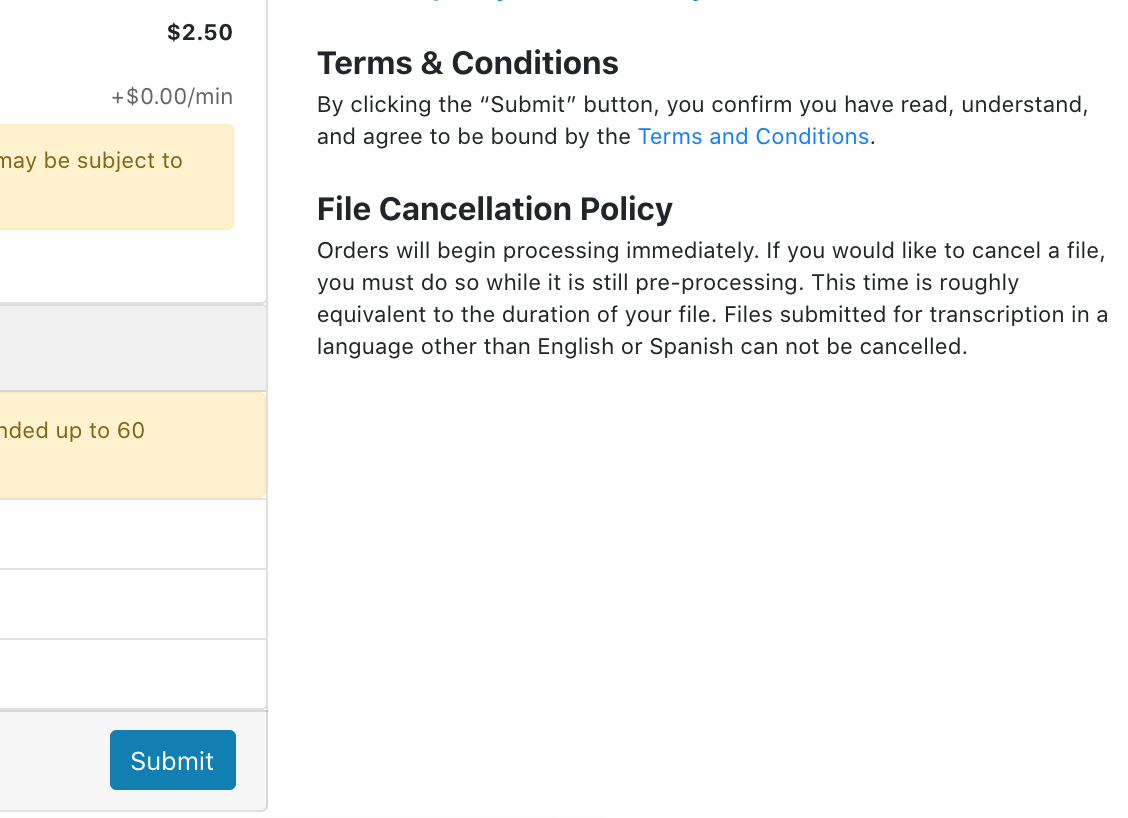
See more information on how to cancel a file in the pending state.
Step 13- Select your file
When your file is ready for download, navigate to the My Files page of your account. Select the file that correlates to your KnowledgeVision Presentation. When it has been selected, the box to the left of the filename will become checked and the line will become highlighted in blue.
See more information on tracking the progress of your file.
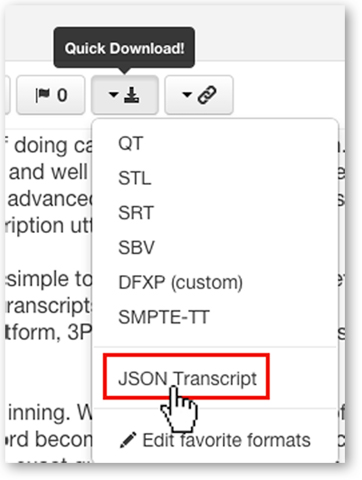
Step 14- Click Quick Download Icon
Click on the Quick Download icon located above your list of files.

Step 15- Download the JSON Transcript file format
From the pop-up menu click the download icon besides the JSON Transcript file format.
After clicking the icon the file will immediately begin downloading to your computer.
Step 16- Upload the transcript
Log back into your KVStudio account and navigate to the video associated with the JSON file you are adding. Click Step 2: Select Videos and click either Upload Video or Select another option. Click Upload Transcript and a search box will open for you to select the JSON file you downloaded in step 6.

Step 17- Publish the presentation
Once you publish the presentation, you can then preview it in your browser and review the transcript that displays. If you have additional edits, you can go back to your 3Play Media account and use the View/Edit function to make changes to the transcript. Next, download the latest iteration, re-upload the new JSON file, and re-publish the presentation with the latest changes.