Prerequisites
- This service is NOT available to Express customers.
- To create the shorter caption files for video clips excerpted from a longer master source media file sequence, the master sequence from which the smaller video clips have come from must first be listed as an available file in your 3Play Media account.
- If the parent media file is not yet in the 3Play Media account system there are three methods that can be used to create the required "parent" file; the default transcription and captioning service, the transcript alignment service, or the captions import module.
- The parent 3Play Media file must also contain the source media file.
- For parent files created using the captions import module the source media will need to be added.
- If the 3Play parent file was created using either the default transcription/captioning service or the transcript alignment service the source media file may need to be added back to the file depending on how recently the parent file was created.
- PROOFREAD the parent 3Play Media file and, if necessary, make any basic corrections using the Edit Transcript tool before using ViCC to create child caption files for your video clips.
- The ViCC module must be activated.
Activate the ViCC Module
-
- First contact your 3Play Media account representative to add the ViCC module to your account. Once you have confirmation that the module has been added log into your 3Play Media account and click on the Settings tab located in the upper right-hand corner of the page.
-
From the options on the left-hand side of the page click Video Clip Captioning listed below Add-On Modules.
-
Next click Activate Video Clip Captioning.

Steps to Order Video Clip Captions
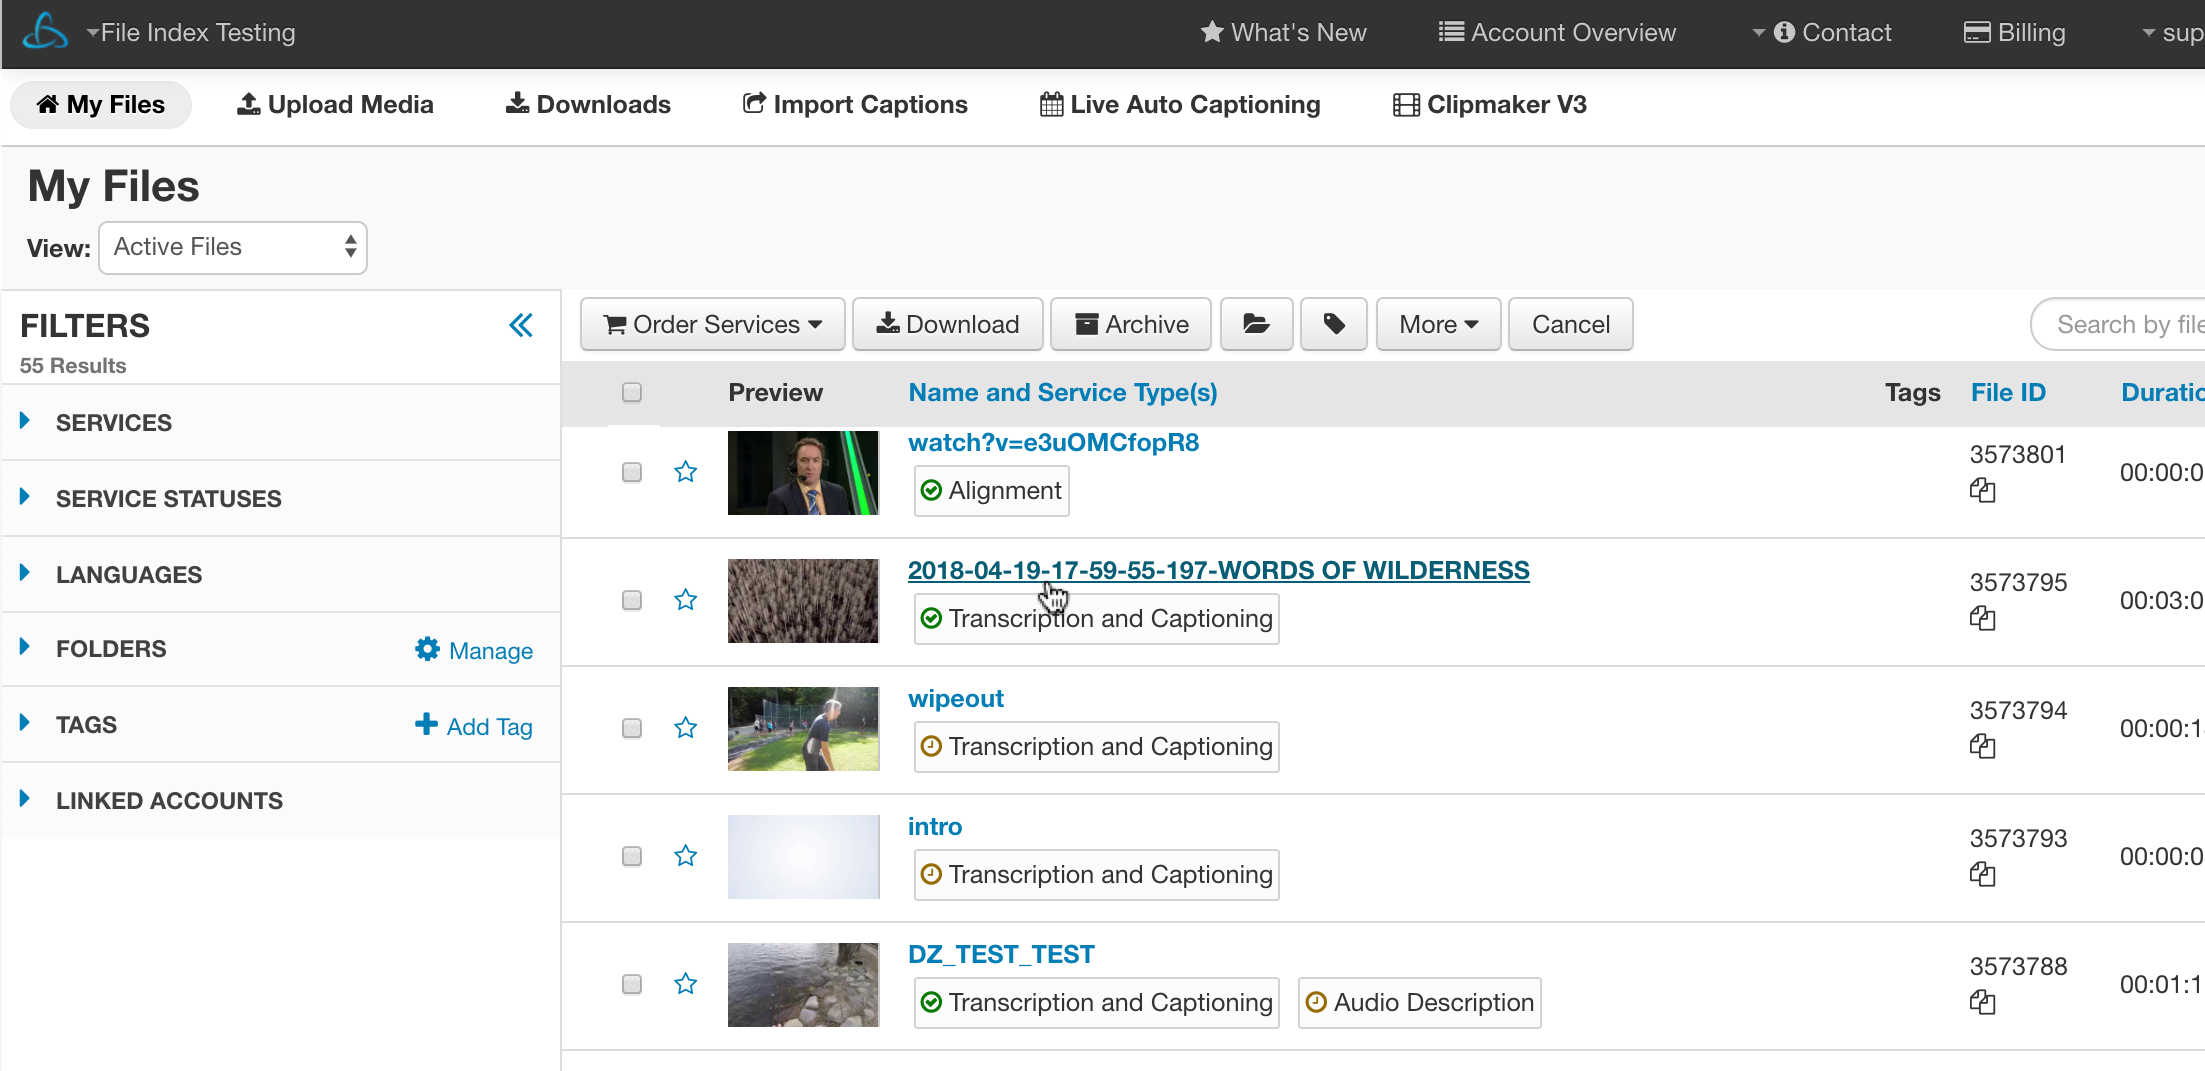
1. Locate and select the "parent" file
Once the Video Clip Captioning module has been activated, navigate to the My Files page and locate the parent file.
Click the file to open the file show page.
2. Click Order Video Clip Captioning
Click Order Services located above the transcript preview window.
From the dropdown menu that appears click ViCC.

3. Select video clips
Click Choose Files and select up to 8 video clips you want to create captions for from your computer.
Once the clips have been selected click Upload.

- For file size each clip should not exceed 2GB.
- For duration each clip should not exceed 4 hours.
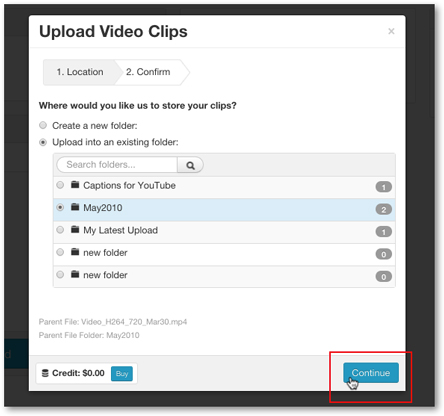
4. Choose destination folder
Next either create a new folder where the clips will be stored or select from one of the existing folders in your account.
Once a destination folder is assigned click Continue.
5. Place order for ViCC
Please read the cancelation policy and then check the box to verify the policy has been read and it is understood that ViCC orders cannot be canceled.
Next click Place Order.

Once Place Order is clicked and the order has finalized you will be redirected to the Video Clip Captioning section of your account where the message "Success! Your file has been uploaded!" will display at the top of the screen.
| Note: If you will be creating multiple child caption files from a parent file that the first child clip may take about 1/10 realtime of the parent file to generate the first child caption file but all subsequent requests for child caption files from this previously analyzed parent file will be created almost immediately. |