The JW Player is one of the most popular open-source media players. It’s easy to set up and it supports many different media formats. It’s also very extensible through a library of plugins that includes a captions plugin for accessibility. This article shows you how to use the JW captions plugin to add closed captions to your JW Player with the help of 3Play Media.
First you will have to set up your JW Player if you haven't done so already.
See more information on setting up your JW Player.
The instructions below are based on the JW Player, version 5.5.
If you’re using a different version, you can find additional instructions on the JW Player website.
The captioning workflow can also be completely automated by using the 3Play Media APIs and the JW APIs.
Before downloading captions from your 3Play Media account you may want to first configure WEBVTT as one of your favorite formats. Once saved as a favorite format the WEBVTT format will be one of the default format options when performing quick downloads.
See more information on configuring your Favorite Format settings.
Follow the steps below to get started...
Step 1- Log into your 3Play Media account

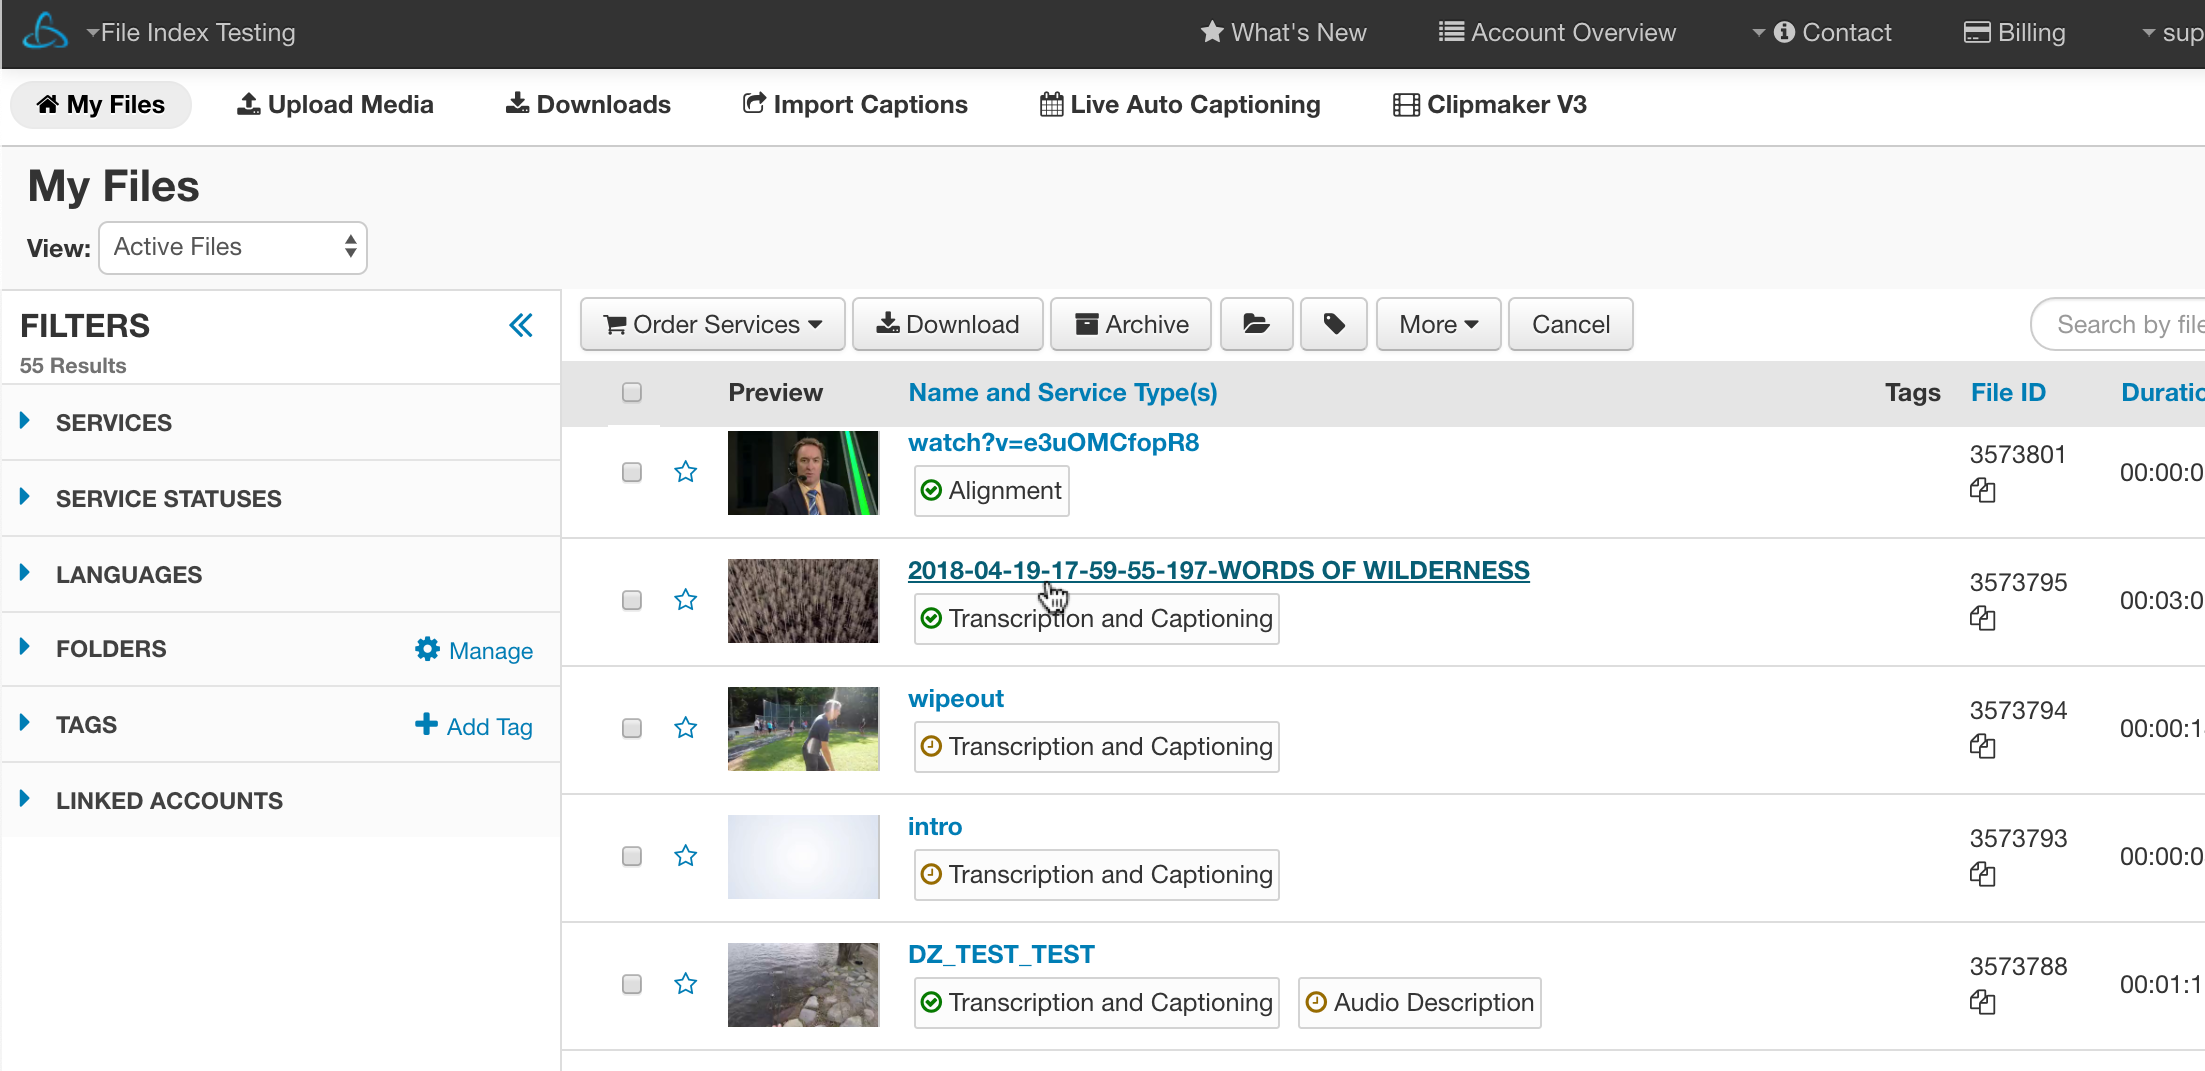
Step 2- Select your file
Select the file you want to download from your list of files. Click the file's name to open the file level actions menu.
Step 3- Click Quick Download
Click on the Quick Download button and select WEBVTT.

Step 4- Configure the JW captions plugin
The JW captions plugin, like all JW plugins, does not need to be downloaded or installed. To use the plugin all you have to do is modify the player’s embed code to include references to the captions plugin and the URL of the WEBVTT captions file. Below is an HTML example of the embed code with captions added.
The first field is the Playlist, which is the info for the video. Under File, enter the name of your video. Under Image, this is an optional image you can use as a placeholder that shows up when you first load the video before it is played.
The next field is the Tracks. This is the info for the captions. Under File, enter the info for the caption file.
jwplayer("myElement").setup({
    playlist: [{
        file: "/assets/NAME_OF_YOUR_VIDEO.mp4",
        image: "/assets/sintel.jpg",
        tracks: [{
            file: "/assets/YOUR_CAPTION_FILE_NAME_captions-english.vtt",
            label: "English",
            kind: "captions",
            "default": true
        },{
            file: "/assets/YOUR_CAPTION_FILE_NAME_captions-french.vtt",
            kind: "captions",
            label: "French"
        }]
    }]
});
Pro Tip: If you have multiple languages for a video, you can add all the WEBVTT files to the HTML code by following the example above. The option to change the language will be available upon playing the video.

For additional information about configuring the JW captions plugin, see the setup instructions and support documentation.
Step 5- Publish your new embed code
After publishing the modified embed code on your site, you will be able to turn the captions on/off by pressing the CC button.
